
How to use Eclipse IDE for Java EE Developers
Step 0: Install JDK
skip this step if you have ever make a java program run in your computer...
To use Eclipse for Java programming, you need to first install Java Development Kit (JDK). Read "How to Install JDK for Windows".
Step 1: Download
Download Eclipse from https://www.eclipse.org/downloads. Under "Get Eclipse IDE 2019-12" ⇒ Click "Download Packages". For beginners, choose the "Eclipse IDE for Java Developers" and "Windows 64-bit" (e.g., "eclipse-java-2019-12-R-win32-x86_64.zip" - about 201MB) ⇒ Download.
Step 2: Unzip
To install Eclipse, simply unzip the downloaded file into a directory of your choice (e.g., "c:\myProject").
I prefer the zip version, because there is no need to run any installer. Moreover, you can simply delete the entire Eclipse directory when it is no longer needed (without running any un-installer). You are free to move or rename the directory. You can install (unzip) multiple copies of Eclipse in the same machine.
Perspectives
In Eclipse, a perspective provides initial layout that is organized to help programmers accomplish a task or work. Each perspective contains a different set of editors and views. For example, the Java perspective contains the following editors and views:
- Java Editors: for editing Java source files.
- Package Explorer: allows you to navigate the projects.
- Outline: displays the structure of source file in the active editor.
- Problems: shows errors, warnings and problems detected.
- Javadoc: allows you to preview Javadoc of a class, method, field…
- Declaration: shows declaration statement for the variable at the cursor position.
- Task List: displays tasks downloaded from a popular bug tracker tool like Bugzilla, Mantis…
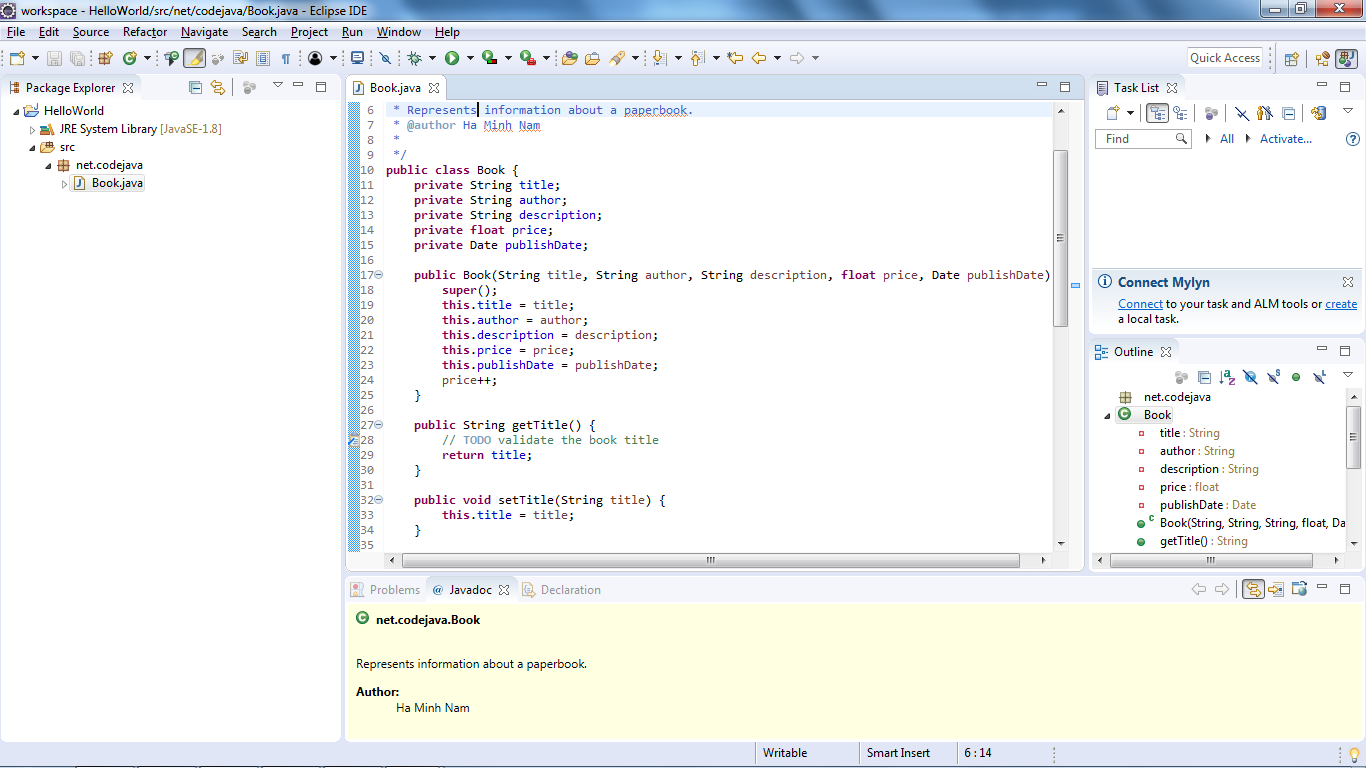
The following screenshot is of a Java perspective:
When you are working in the perspective, you and open more editors and views when needed, but initially a perspective contains a fixed set of editors and views. The toolbars and menu items are also changed according to the purpose of the current active perspective.
Setup and Install Apache Tomcat Server in Eclipse Development Environment
By default when you download Eclipse IDE, it doesn’t come with Tomcat install with it. Follow all detailed steps to configure Apache Tomcat successfully in Eclipse environment.
Step-1
Download Apache Tomcat from this link http://tomcat.apache.org/
click Download -> Tomcat 8.0
Choose Binary Distributions Core: 32-bit Windows zip / 64-bit Windows zip
Step-2
Extract it to Document folder.
Step-3
- Open Eclipse Environment
- Click on Servers Tab
- Click on No servers are available. Click this link to create a new server...

- Click Tomcat v8.0 Server and Next

Step-4
Select Apache installation Directory and click Finish.

Step-5
You should see Tomcat v8.0 Server at localhost [Stopped, Republish] under Servers tab.

Step-6
Now select the Server and click Start.
Now it should be up and running on port 8080. In next section we will create our first servlet program in eclipse..


No comments:
Post a Comment